Exercise 2.3
Files
Exercise 2.3 – CSS – Box Model – Floating elements
- Start with the files index.html on moodle and main.css in from Ex2.2
-
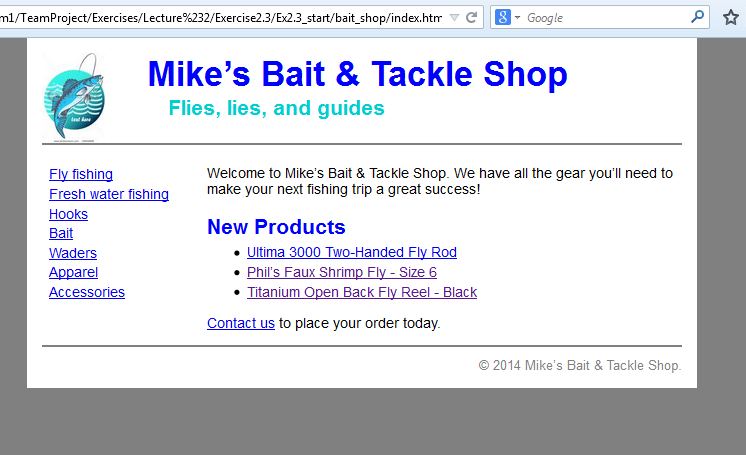
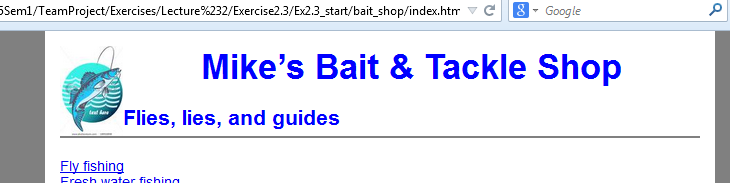
Note the change in the html to add the list. The page should now look like
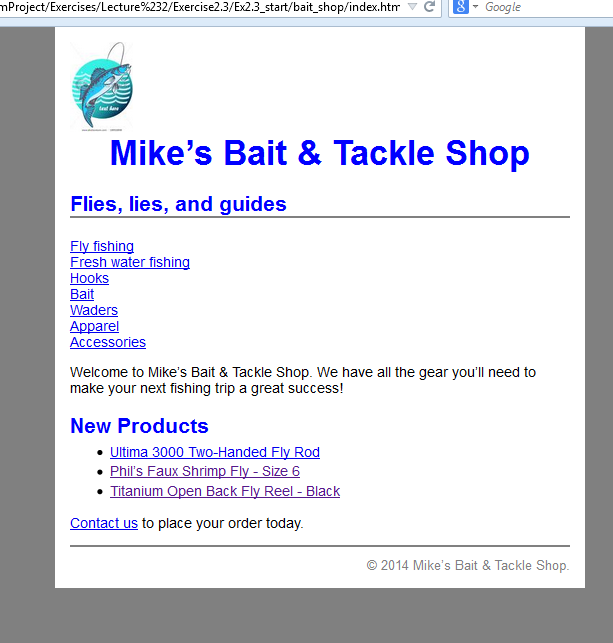
Floating the img -
Open main.css. Change the width of the page to 640 pixels so it will accommodate a new column.
- Add a rule set for the img element in the header division. That means the selector will be coded like this:
#header img{ }The add rules that float the image to the left. -
Add another rule for the header division that sets the height to 90 pixels, the same height as the image. Test the change.
-
Delete the text-align property for h1 element, and add a rule for the h1 element in the header division that sets the left margin to 3 em.
-
Add a rule set for the h2 element in the header division that sets the left margin to 6 em, the other margins to 0 and the color to
#00ced1, which is a shade of aqua.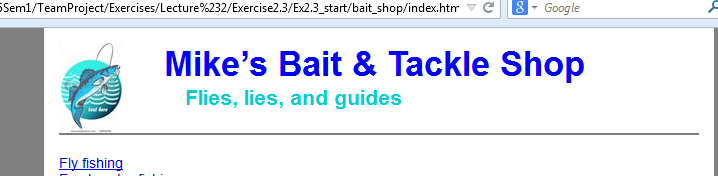
Float the categories division -
Add a rule set for the categories division. Give this division a width of 150 pixels and float it to the left. Test the change.
- Add a rule set for the main division that sets the left margin to 165 pixels.
- To improve the formatting of the category links, add a rule set for the p element in the categories division that set the line height to 1.4, the top margin to zero, the left and right margins to 0.5em and the bottom margin to 1 em.
-
Because the main division is longer than the categories division, you do not have to clear the footer division.